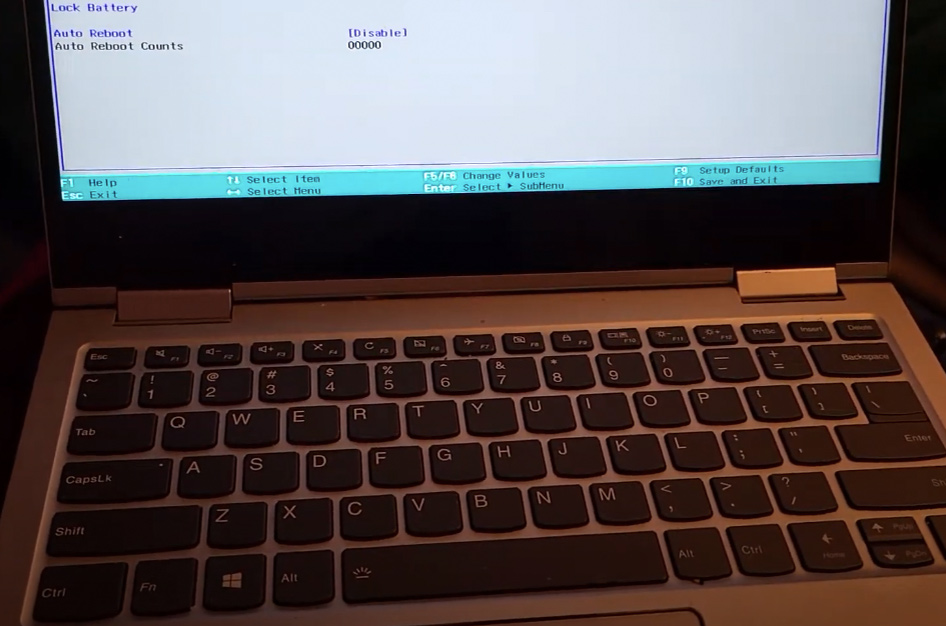
The Puzzle of a Locked Lenovo BIOS
It’s one of those late nights—your Lenovo Yoga 720-13IKB glowing on the desk, a sleek 13-inch marvel that’s been your workhorse for coding, streaming, or maybe just binge-watching under the covers. You’ve got a spark of ambition: maybe overclock a setting, tweak boot options, or dig into the debug guts to make this machine truly yours. But the BIOS? It’s a fortress. You hammer F2, try every key combo from online forums, and still—nothing. Just the same basic menu, mocking you with its limits. No advanced options, no debug mode, just a wall between you and your laptop’s soul. A locked BIOS isn’t just a tech snag; it’s a creativity killer dimming your spark.
We’ve all been there, chasing half-baked guides that fizzle out. But hold tight—there’s a path through this maze, tested and true, that’ll crack open the advanced BIOS like a long-lost diary. Let’s unlock your Yoga in 20 minutes and set your tech dreams free—no more key-smashing despair!
Cracking the BIOS Code
Take a deep breath and picture yourself as a digital sleuth, hunting the secret to your Yoga’s core. First test: can you even get into the standard BIOS? Power off, tap F2 like a drummer—fast and steady. If you’re in, great. If not, we’ll loop back. Now, scan the menu. Missing tabs? No debug options? Settings like USB Legacy or Secure Boot staring back? That’s the clue—this machine’s hiding its full power, and we’re about to coax it out.
Unlocking the Debug Door (20 Minutes)
Ready to flip the script? Let’s dive in, step by step, with the grit of a coder chasing the perfect bug fix.
Step 1: Enter Standard BIOS (3 min)
Shut down your Yoga completely—hold that power button if it’s stubborn. Now, fire it up and tap F2 repeatedly, like you’re knocking on a secret door. Keep at it even as the screen flickers. Land in the BIOS? You’re golden—move on.
Step 2: Tweak Key Settings (8 min)
In the BIOS, navigate with arrow keys and set these exactly:
- USB Legacy: Enabled
- Wireless: Enabled
- SATA Controller Mode: AHCI (note your original setting—switch back if Windows won’t boot later)
- Power Beep: Enabled (optional, but its chirp feels like progress)
- BIOS Back Flash: Disabled
- Hotkey Mode: Your call (Enabled worked in tests)
- Thunderbolt Boot: Enabled
- Always On USB: Disabled
- Secure Boot: Disabled (don’t clear keys!)
- Boot Mode: Legacy Support
- Fast Boot: Disabled
- USB Boot: Enabled
Save with F10, exit, and shut down.
Step 3: Prep a USB Recovery Drive (3 min)
Grab a USB stick—ideally one formatted for Windows recovery (not mandatory, but it’s like a lucky charm). Plug it in, no rush.
Step 4: Retry for Advanced BIOS (4 min)
Power off again. Start the Yoga and hammer F2—don’t let up, even post-logo. If it fails, hold power for a hard shutdown, then repeat. Persistence is your key.
Step 5: Celebrate the Win (2 min)
Boom—a new BIOS menu blooms, packed with advanced tabs and debug options. You’ve cracked it! Test a setting, save, and reboot to confirm it sticks. Still locked? Loop back to Step 4—one more try usually does it.
In 20 minutes, your Yoga’s unleashed—you’re the BIOS boss!
Keeping Your BIOS Brilliance
Stay savvy—don’t tweak settings blindly; note changes to avoid boot issues. Revisit SATA settings if Windows grumbles. And keep that USB handy—it’s your BIOS wingman. Your Lenovo Yoga 720’s now an open book, ready for your tech adventures.
Want to see this hack in action? Check out our YouTube video for a visual walkthrough—it’s like having us right there, guiding every tap. For more tech triumphs, explore our Tech Fixes guides. Here’s to unlocking your Yoga’s heart—and maybe a few late-night victories!
